Go To Special > Blanks > Delete Entire Row is the shortcut most people reach for first, but it selects blank cells — not rows that are completely empty. If your range contains partially filled records, that shortcut can delete rows you meant to keep. If another formula explicitly references one of the deleted rows, you can also end up with a #REF! error.
This guide shows why the shortcut is risky and walks through a safer method that deletes only rows that are fully blank.
Applies to: Excel for Microsoft 365, Excel 2024, Excel 2021, Excel 2019, and Excel 2016. Both the shortcut and the safer method below use only long-standing Excel features, so the behavior is the same across every version in this list.
The Standard Shortcut (and Why It’s Risky)
- Select the data range you intend to clean.
- Press Ctrl+G, click Special, choose Blanks, then click OK.
- Excel selects every blank cell in that range.
- If you then choose Delete > Entire Row, every row that contains one of those selected blank cells gets deleted — not just rows that are entirely empty.
That last step is the trap: a row with just one missing field looks nothing like a “blank row” to the person cleaning the data, but Excel treats it the same way once any cell in it is selected as blank.

Why Partially Blank Rows Can Disappear
Suppose a customer list contains:
- a row that is completely blank,
- a record for Bob with a missing phone number,
- a record for Dave with a missing email address.
Bob and Dave are not blank records — they are incomplete records. But Go To Special > Blanks selects Bob’s empty phone cell and Dave’s empty email cell right alongside the cells in the truly blank row. Delete entire rows from that selection, and Bob and Dave can be removed along with the actual blank rows.
That’s a data-loss problem on its own, before any formula is even involved.

If your report prints a group label only on the first row, see our guide on filling blank cells with the value above.
When #REF! Shows Up
Microsoft documents #REF! as the error Excel shows when a formula’s cell reference is no longer valid — most often because the referenced cells, rows, or columns were deleted. Deleting rows doesn’t automatically break every formula in a sheet; Excel adjusts many range references on its own. The failure case is clearest when a formula explicitly names a row that then gets deleted by the blanks shortcut. In that situation, the formula returns #REF! because the exact cell it pointed to no longer exists.
If you catch the mistake right away, Ctrl+Z is the fastest way to recover before doing anything else.

The Safer Method: Delete Only Fully Blank Rows
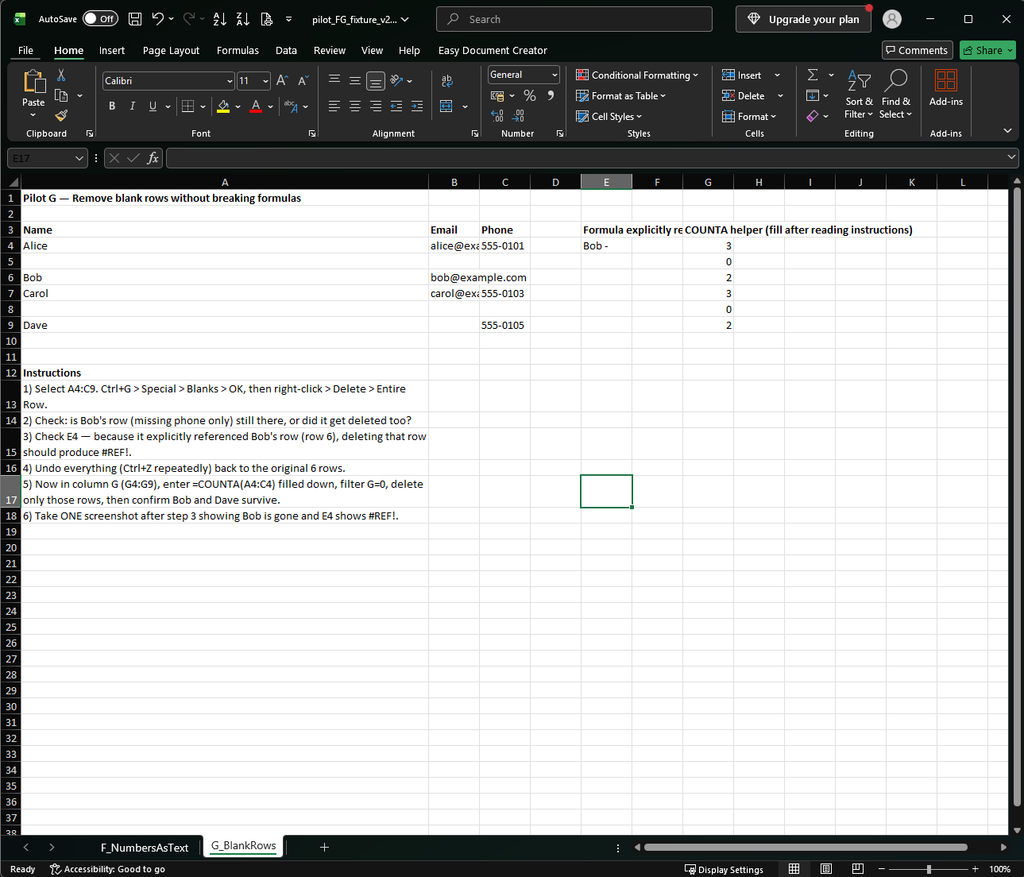
Add a helper column that counts how many non-empty cells each record has, using COUNTA.
For a three-column dataset in columns A:C, starting at row 4:
=COUNTA(A4:C4)Fill the formula down the full range. Then read the result:
- 0 — the row is completely blank across the checked columns.
- 1 or more — at least one field has data, so the row is incomplete, not blank, and shouldn’t be deleted by this pass.
Now clean up safely:
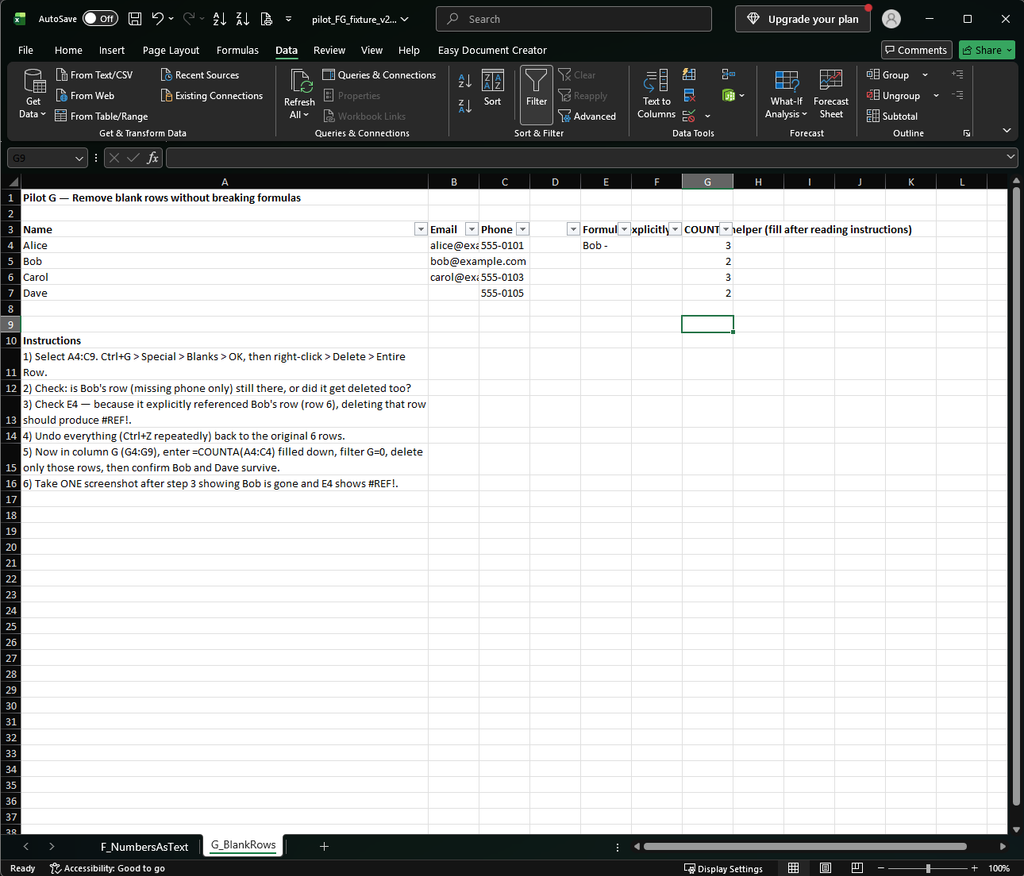
- Filter the helper column to 0.
- Delete only the visible, fully-blank rows.
- Clear the filter.
- Remove the helper column once you’re done.
This keeps Bob’s and Dave’s partially filled records intact while still clearing out the rows that are genuinely empty.
Formula Design Also Reduces the Risk
Beyond the helper-column cleanup itself, how you write formulas in the first place affects how much a future row deletion can break. A continuous range adjusts automatically when rows inside it are removed; a formula built from a list of individual cell references does not adjust the same way. For example:
=SUM(B2:D2)is generally more resilient to structural edits than:
=SUM(B2,C2,D2)This is a separate safeguard from the COUNTA helper — the helper stops you from deleting the wrong rows in the first place, while range-based formulas reduce how much damage a future structural change can cause even when it does happen.
One-line Summary
Go To Special > Blanks selects blank cells, so deleting entire rows from that selection can remove partially filled records along with truly empty ones — and can break any formula that explicitly references a deleted row with #REF!. If you only want rows that are completely empty, filter on a COUNTA(...)=0 helper column first.
Sources
- Find and select cells that meet specific conditions in Excel — Microsoft Support. Documents the Go To Special > Blanks behavior this article builds on.
- How to correct a #REF! error — Microsoft Support. Backs the explanation of when and why
#REF!appears after a deletion. - COUNTA function — Microsoft Support. Reference for the
COUNTAhelper-column method. - Range-vs-list formula resilience and the exact
#REF!reproduction (a formula explicitly referencing a row deleted by the Blanks shortcut) were confirmed by this project’s own reproduction in Excel, recorded in the Pilot G entry of the project decision log and this article’s QA package — not solely from the official pages above.